Launch your digital tutoring business and personalize your portal in minutes.
1. Create and verify your account
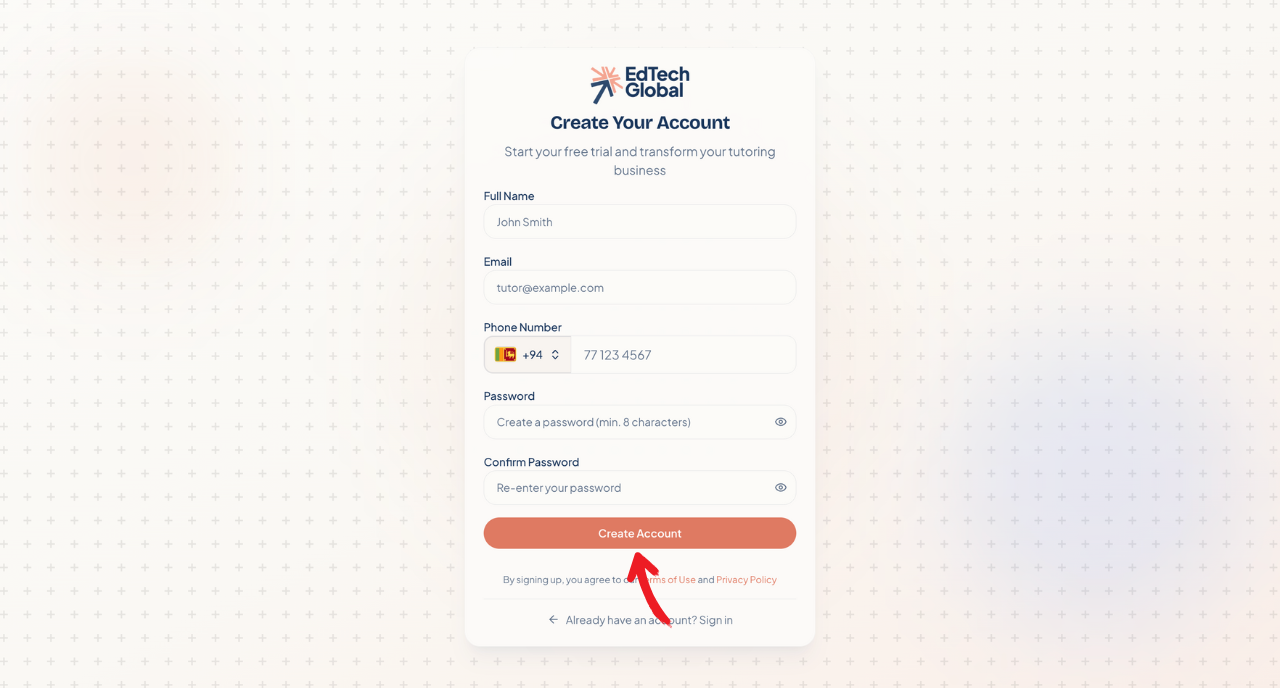
To begin, you’ll need to set up your secure login credentials.
Enter your full name, email, phone number, and a strong password.
Click Create Account.
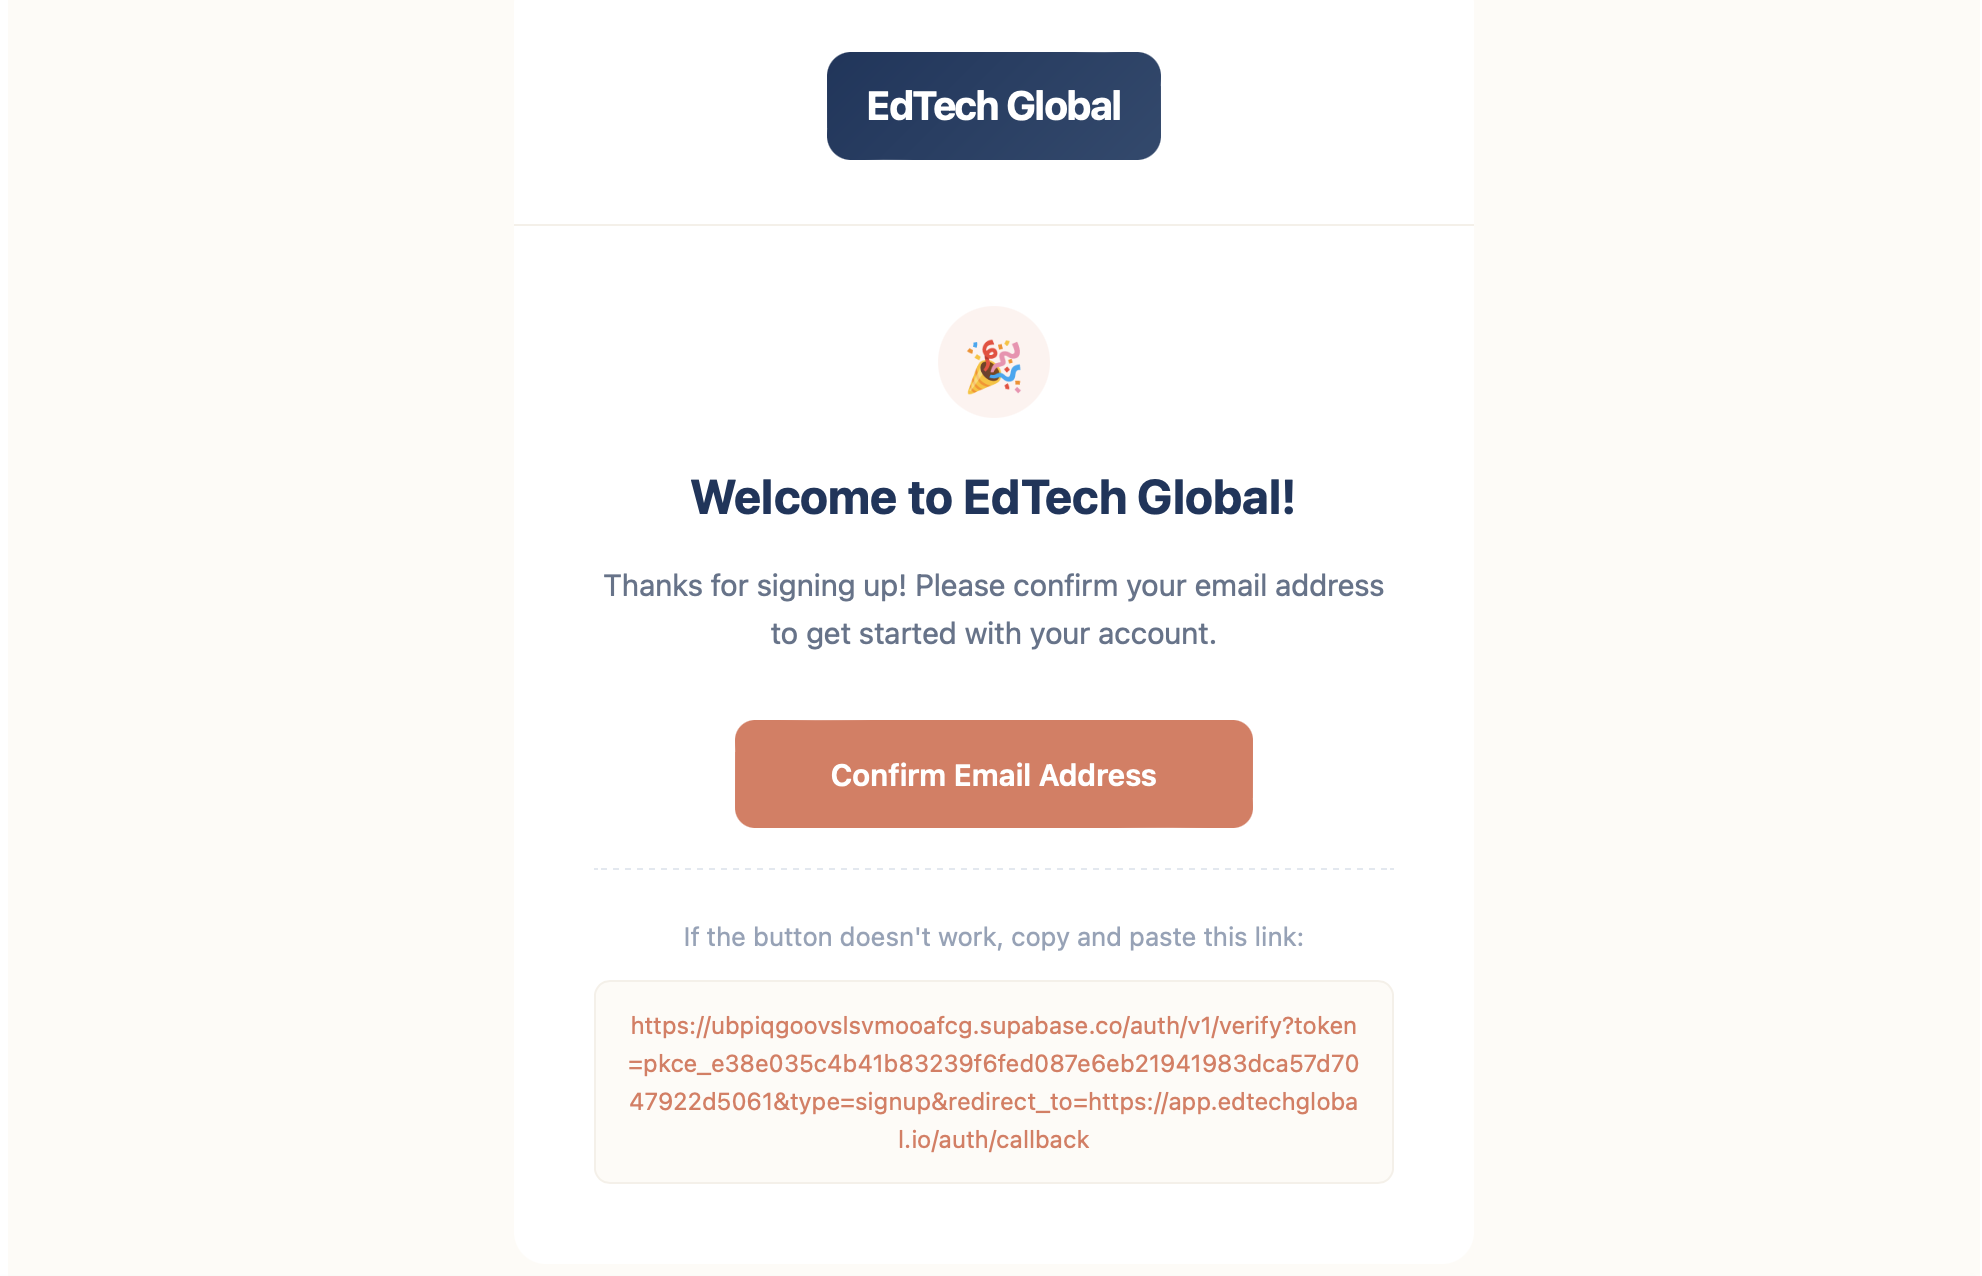
Once you’ve signed up, we’ll send a verification link to your inbox to keep your account secure.
Head over to your email inbox and look for the welcome message. Click Confirm Email Address to activate your account and proceed to the setup wizard.
2. Set up your Institute
Now that you are logged in, it’s time to personalize your platform. This is what your students will see, so make it yours!
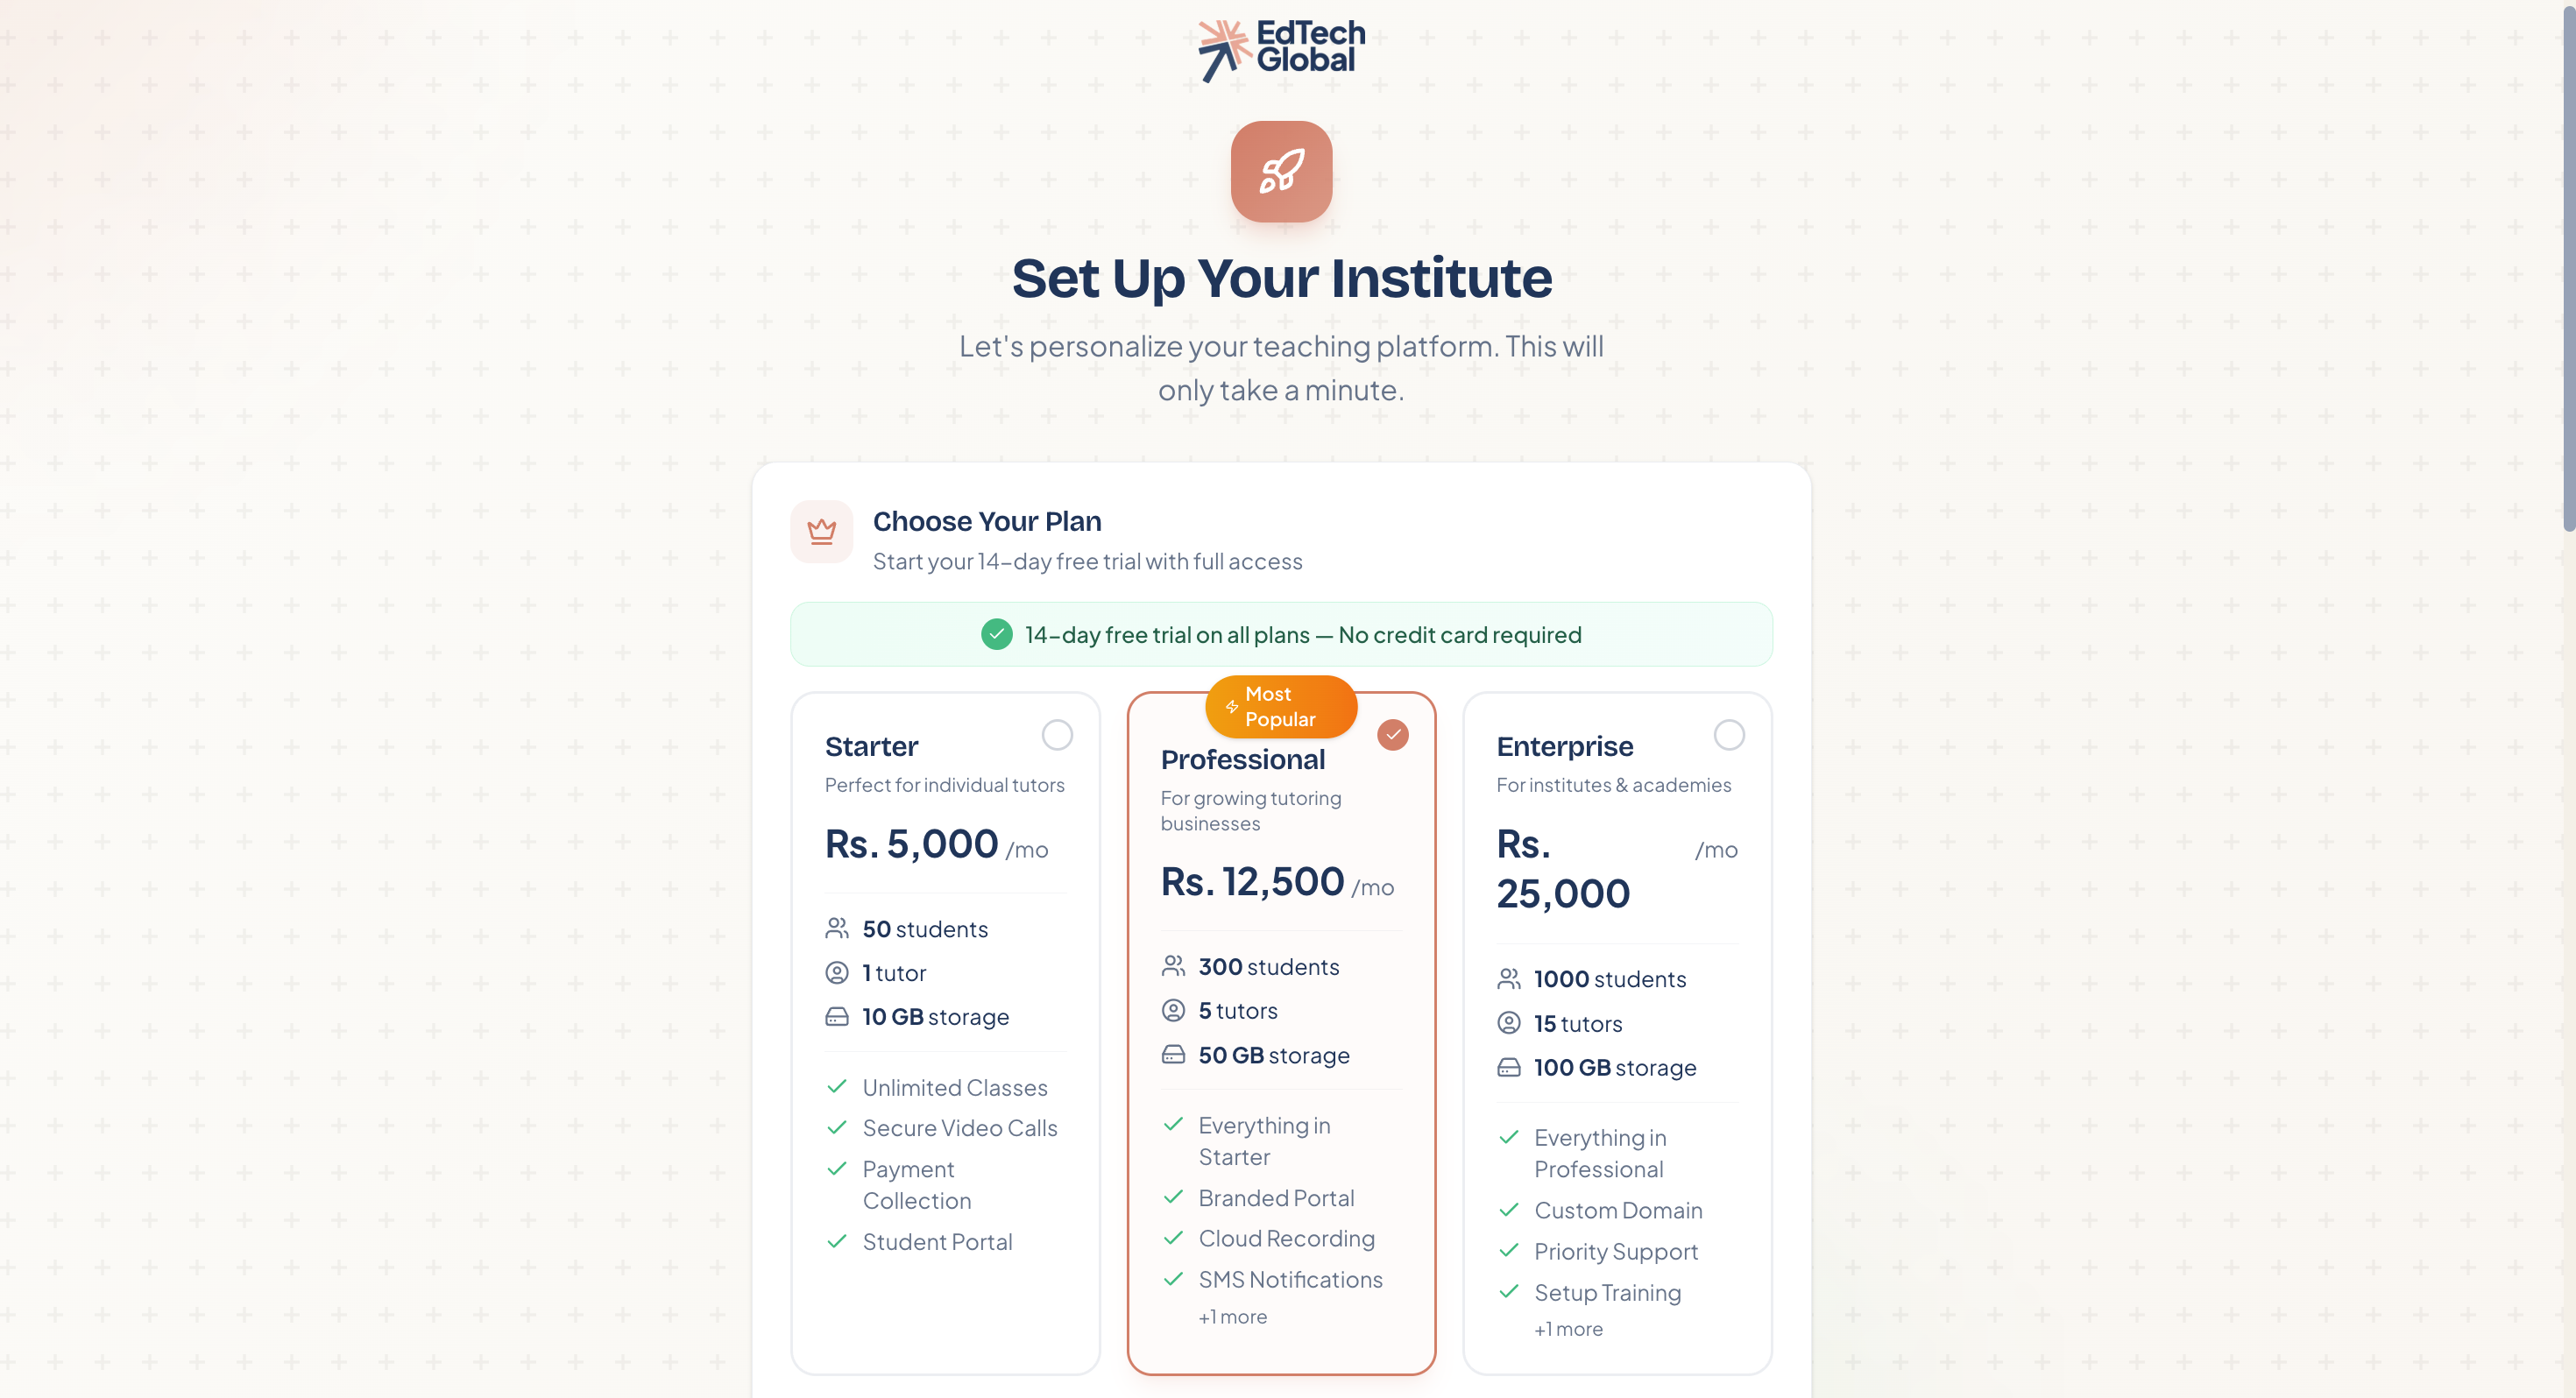
Choose your plan
Select the plan that best fits your current needs. Whether you are an individual tutor or a growing academy, you can start with a 14-day free trial—no immediate payment required.
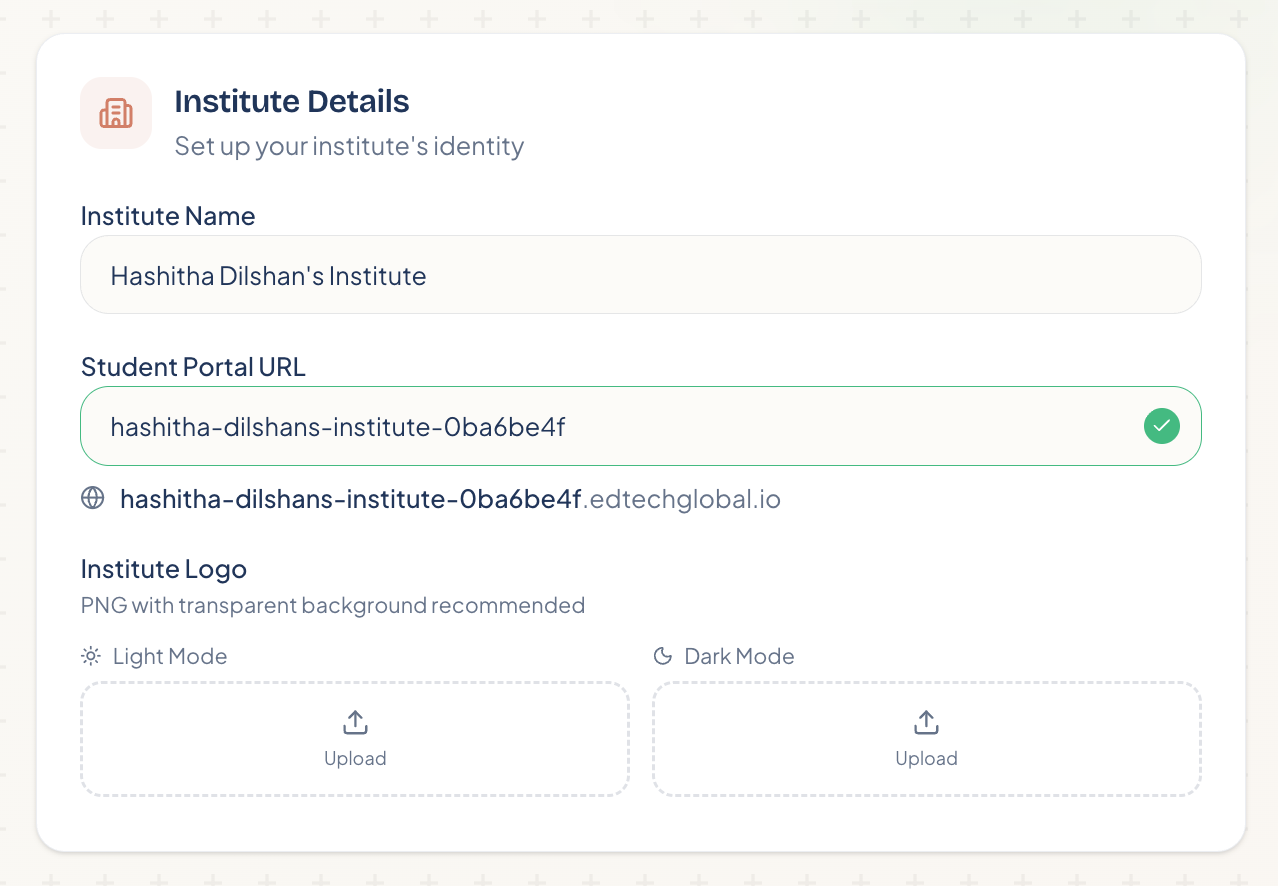
Define your identity
Next, give your institute a name and a custom URL. This URL is the link your students will use to access their portal.
Institute Name: Your business or brand name.
Student Portal URL: Customize this so it's easy for students to remember.
Institute Logo: Upload your logo to make the portal look professional.
Customize branding and subjects
Accent Color: Pick a color that matches your brand; this will apply to buttons and links in the student portal.
Subjects: Add the specific subjects you teach (e.g., "Grade 8 Science" or "Advanced Mathematics") so you can easily categorize your classes later.
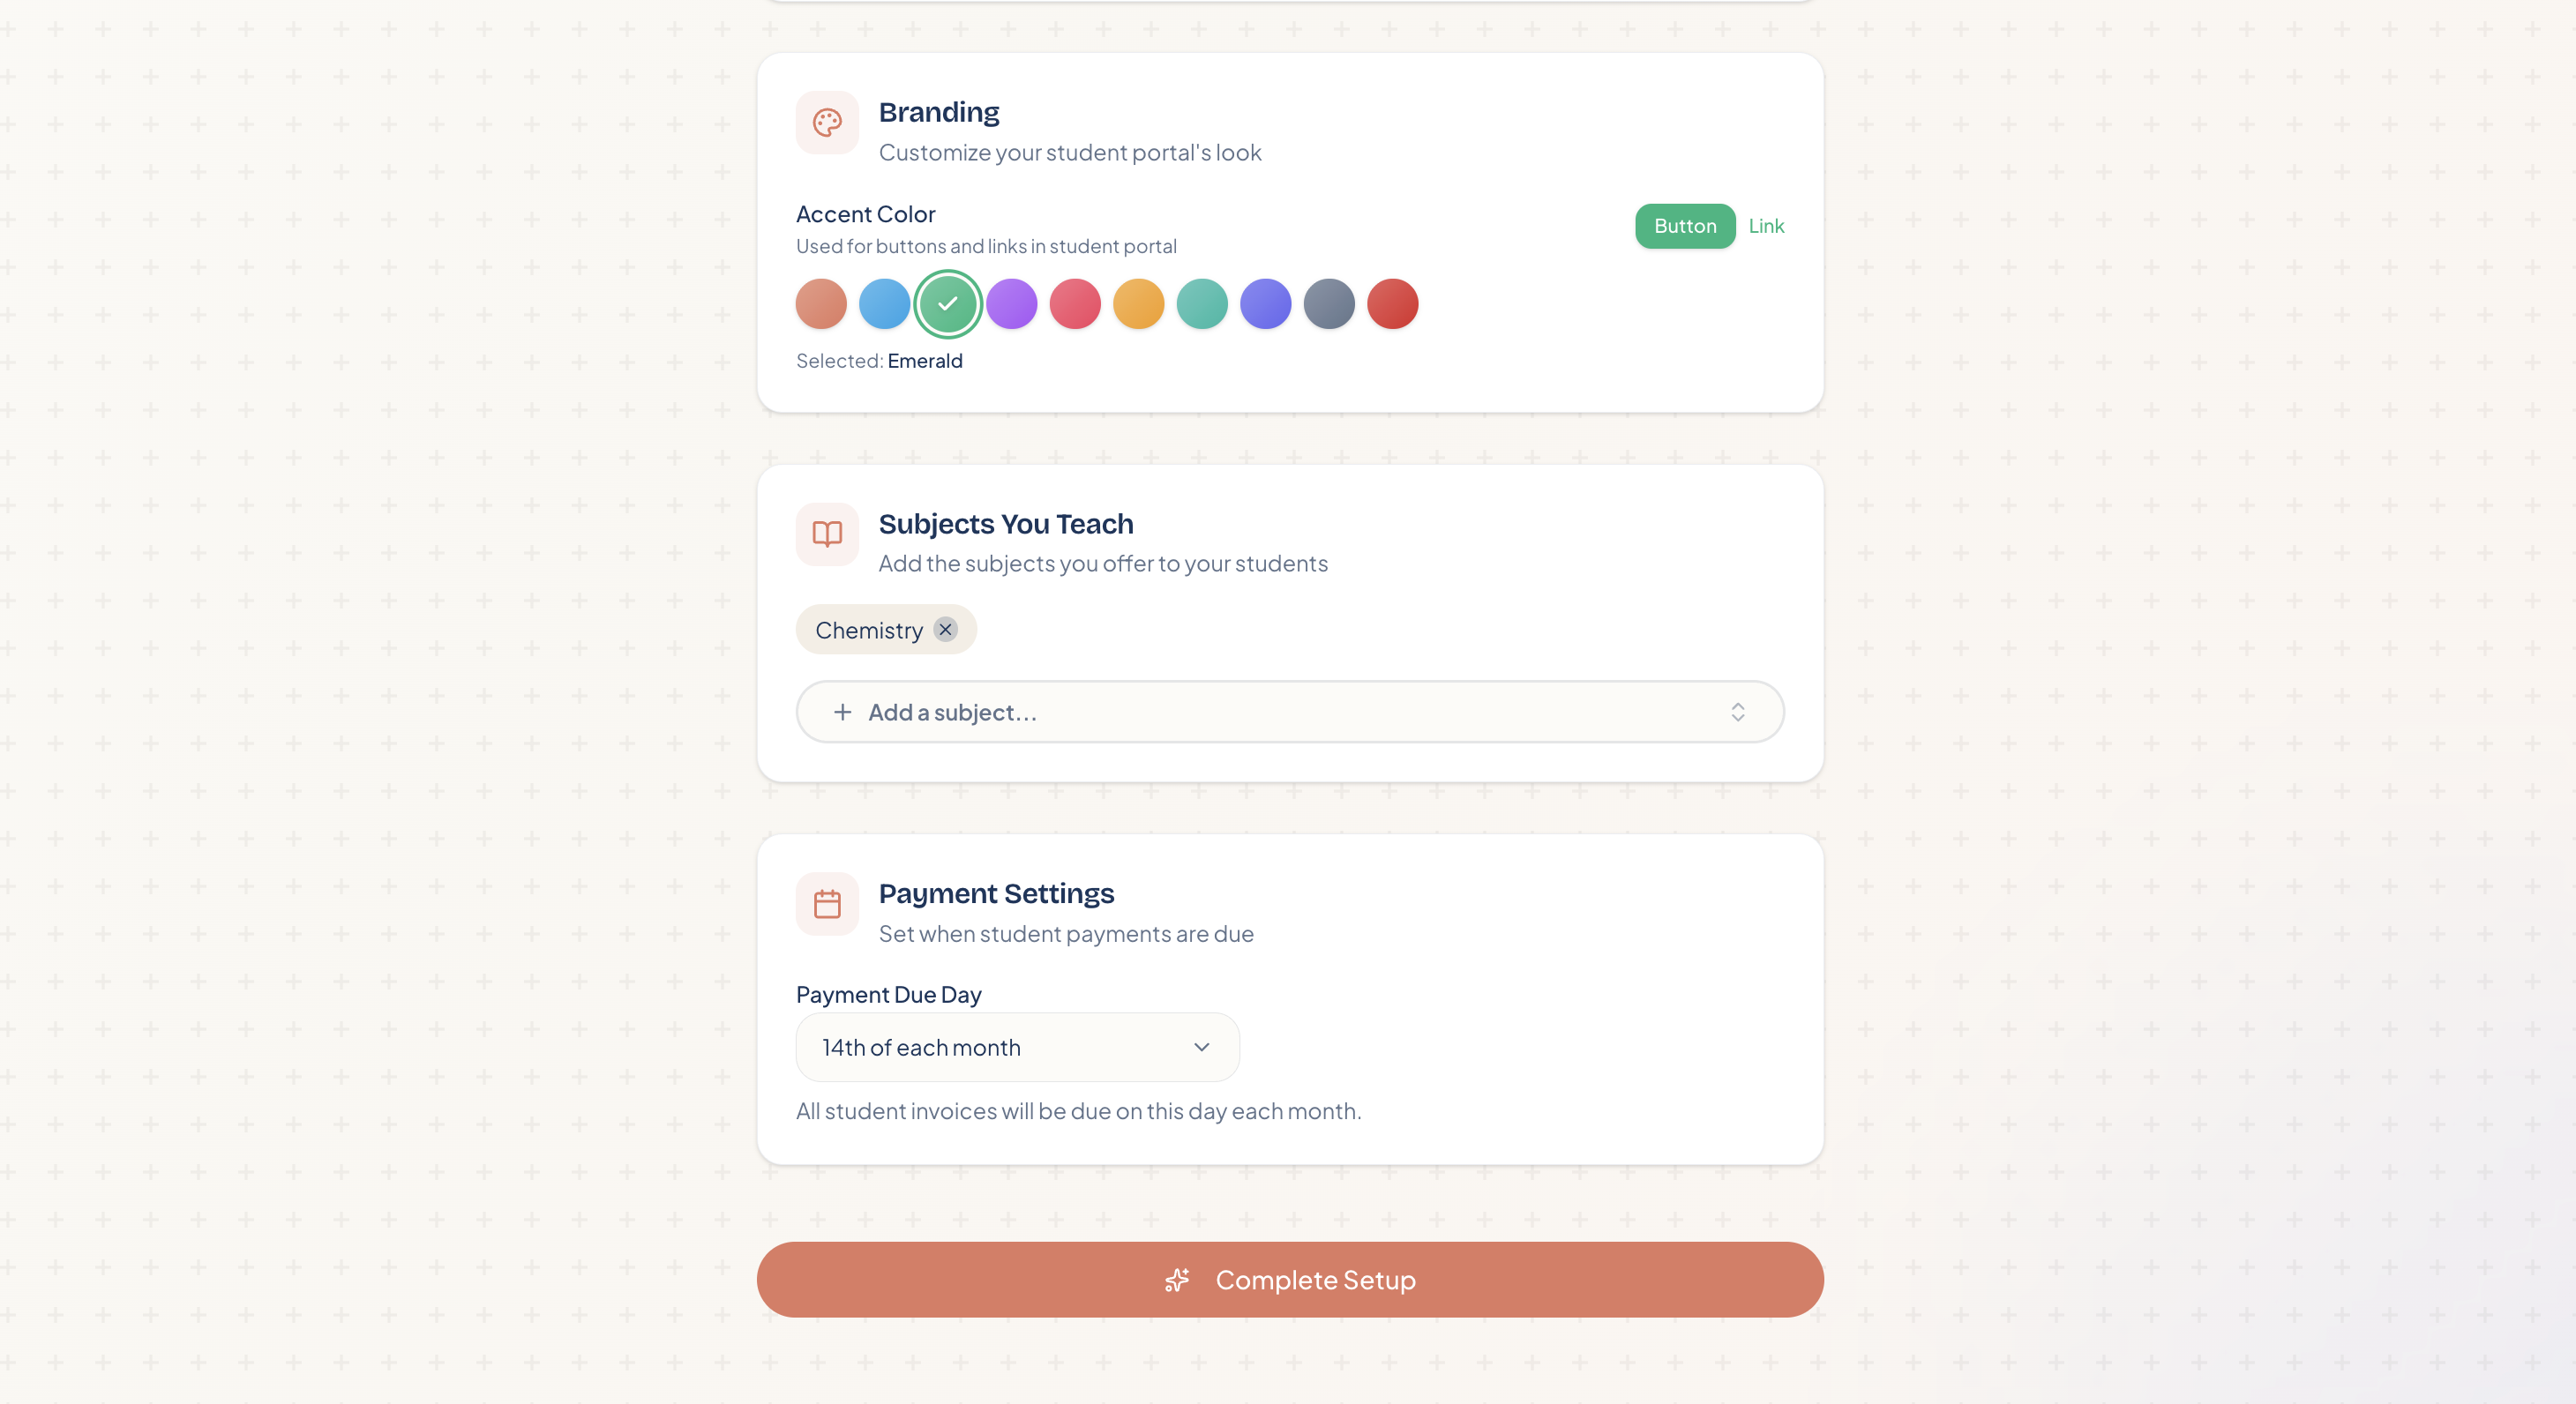
Finally, set your Payment Due Day to automate when student invoices are generated, and click Complete Setup. You are now ready to access your dashboard!