Track your revenue, monitor student payments, and manage invoices.
1. Navigate to Payments
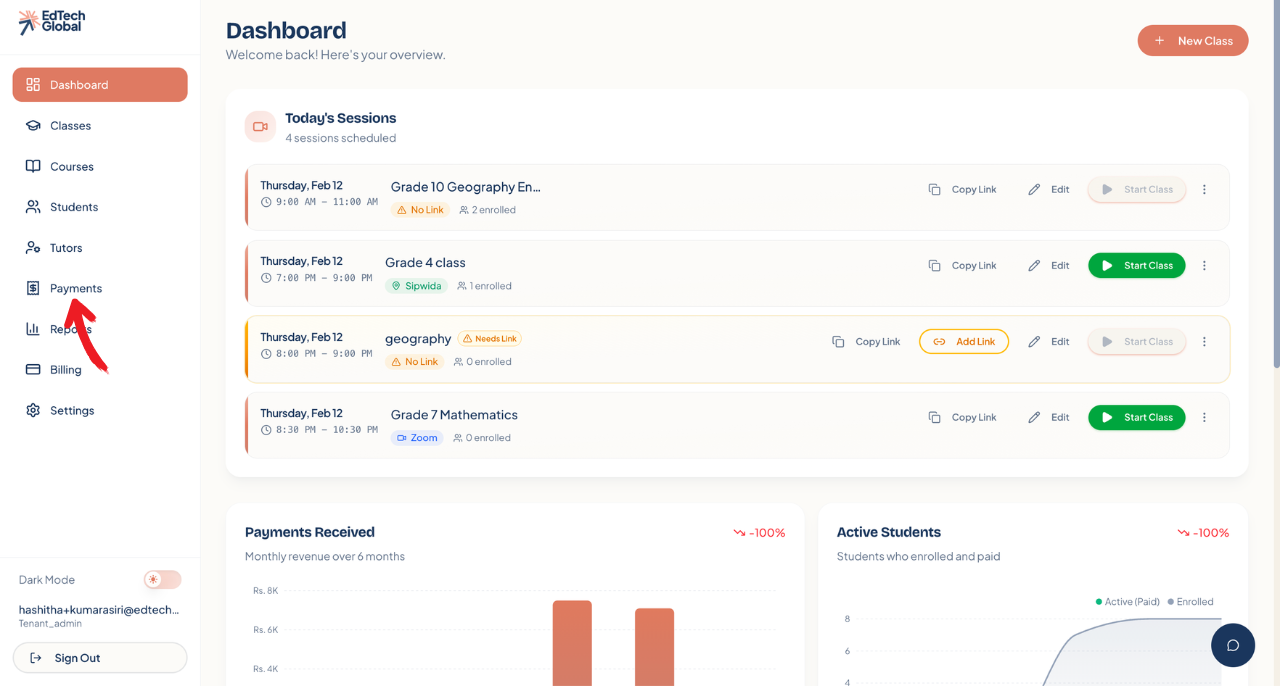
From your main Dashboard, look at the left-hand sidebar menu. Click on the Payments tab.
2. Understand your Financial Overview
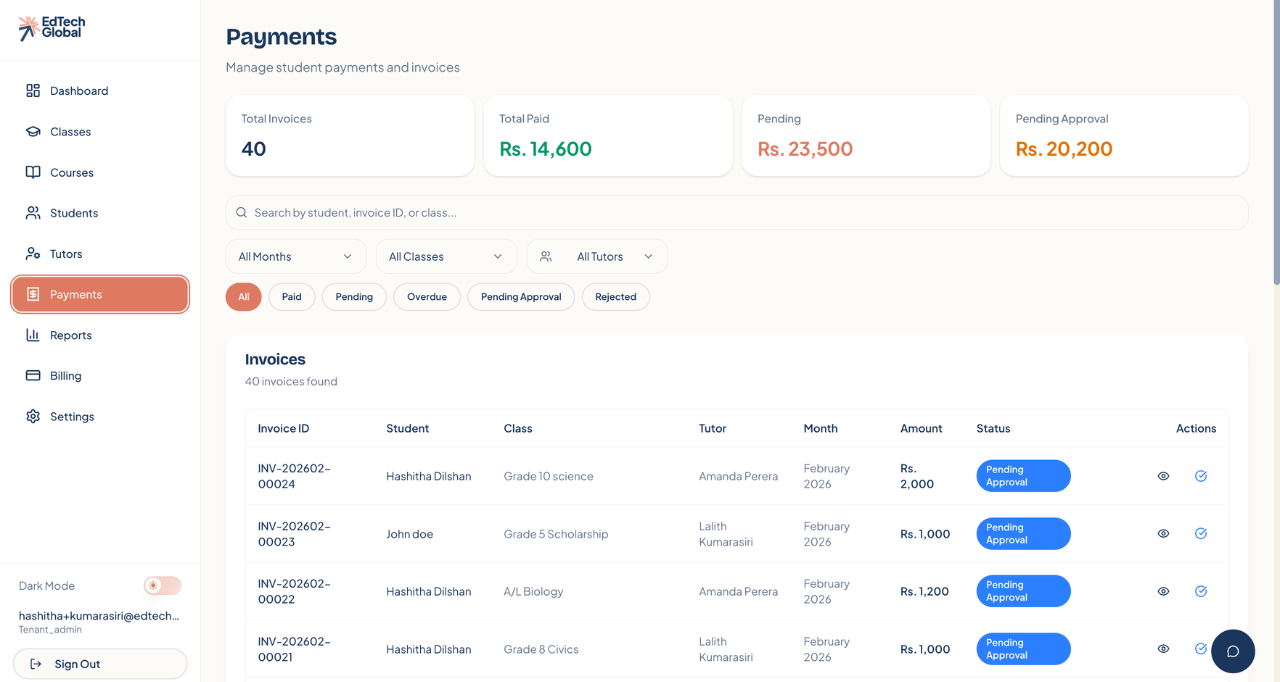
Once you open the Payments page, you will see four key summary cards at the top. These give you an instant snapshot of your business health:
Total Invoices: The total number of invoices generated.
Total Paid: The total revenue you have successfully collected.
Pending: Payments that students have not yet made.
Pending Approval: Payments made by students (e.g., bank transfers/slips) that are waiting for you to verify.
3. Filter and Search Transactions
Below the summary cards, you have powerful tools to find specific financial records.
Search: Type a student's name or Invoice ID to find a specific payment.
Filters: Use the dropdown menus to filter by Month, Class, or Tutor.
Status Tabs: Click the oval buttons (All, Paid, Pending, Pending Approval) to quickly sort the list. For example, clicking Pending Approval is a great way to see which bank slips need checking.
4. View Invoice Details
The Invoices table at the bottom lists every single transaction. Here you can see:
Student Name: Who the invoice belongs to.
Class: The specific subject or course.
Amount: The fee charged.
Status: Whether it is Paid, Pending, or requires approval.
You can also take quick actions here, such as approving a pending payment by clicking the checkmark icon.