Launch your sessions instantly from your dashboard or class list.
Method 1: Start directly from the Dashboard
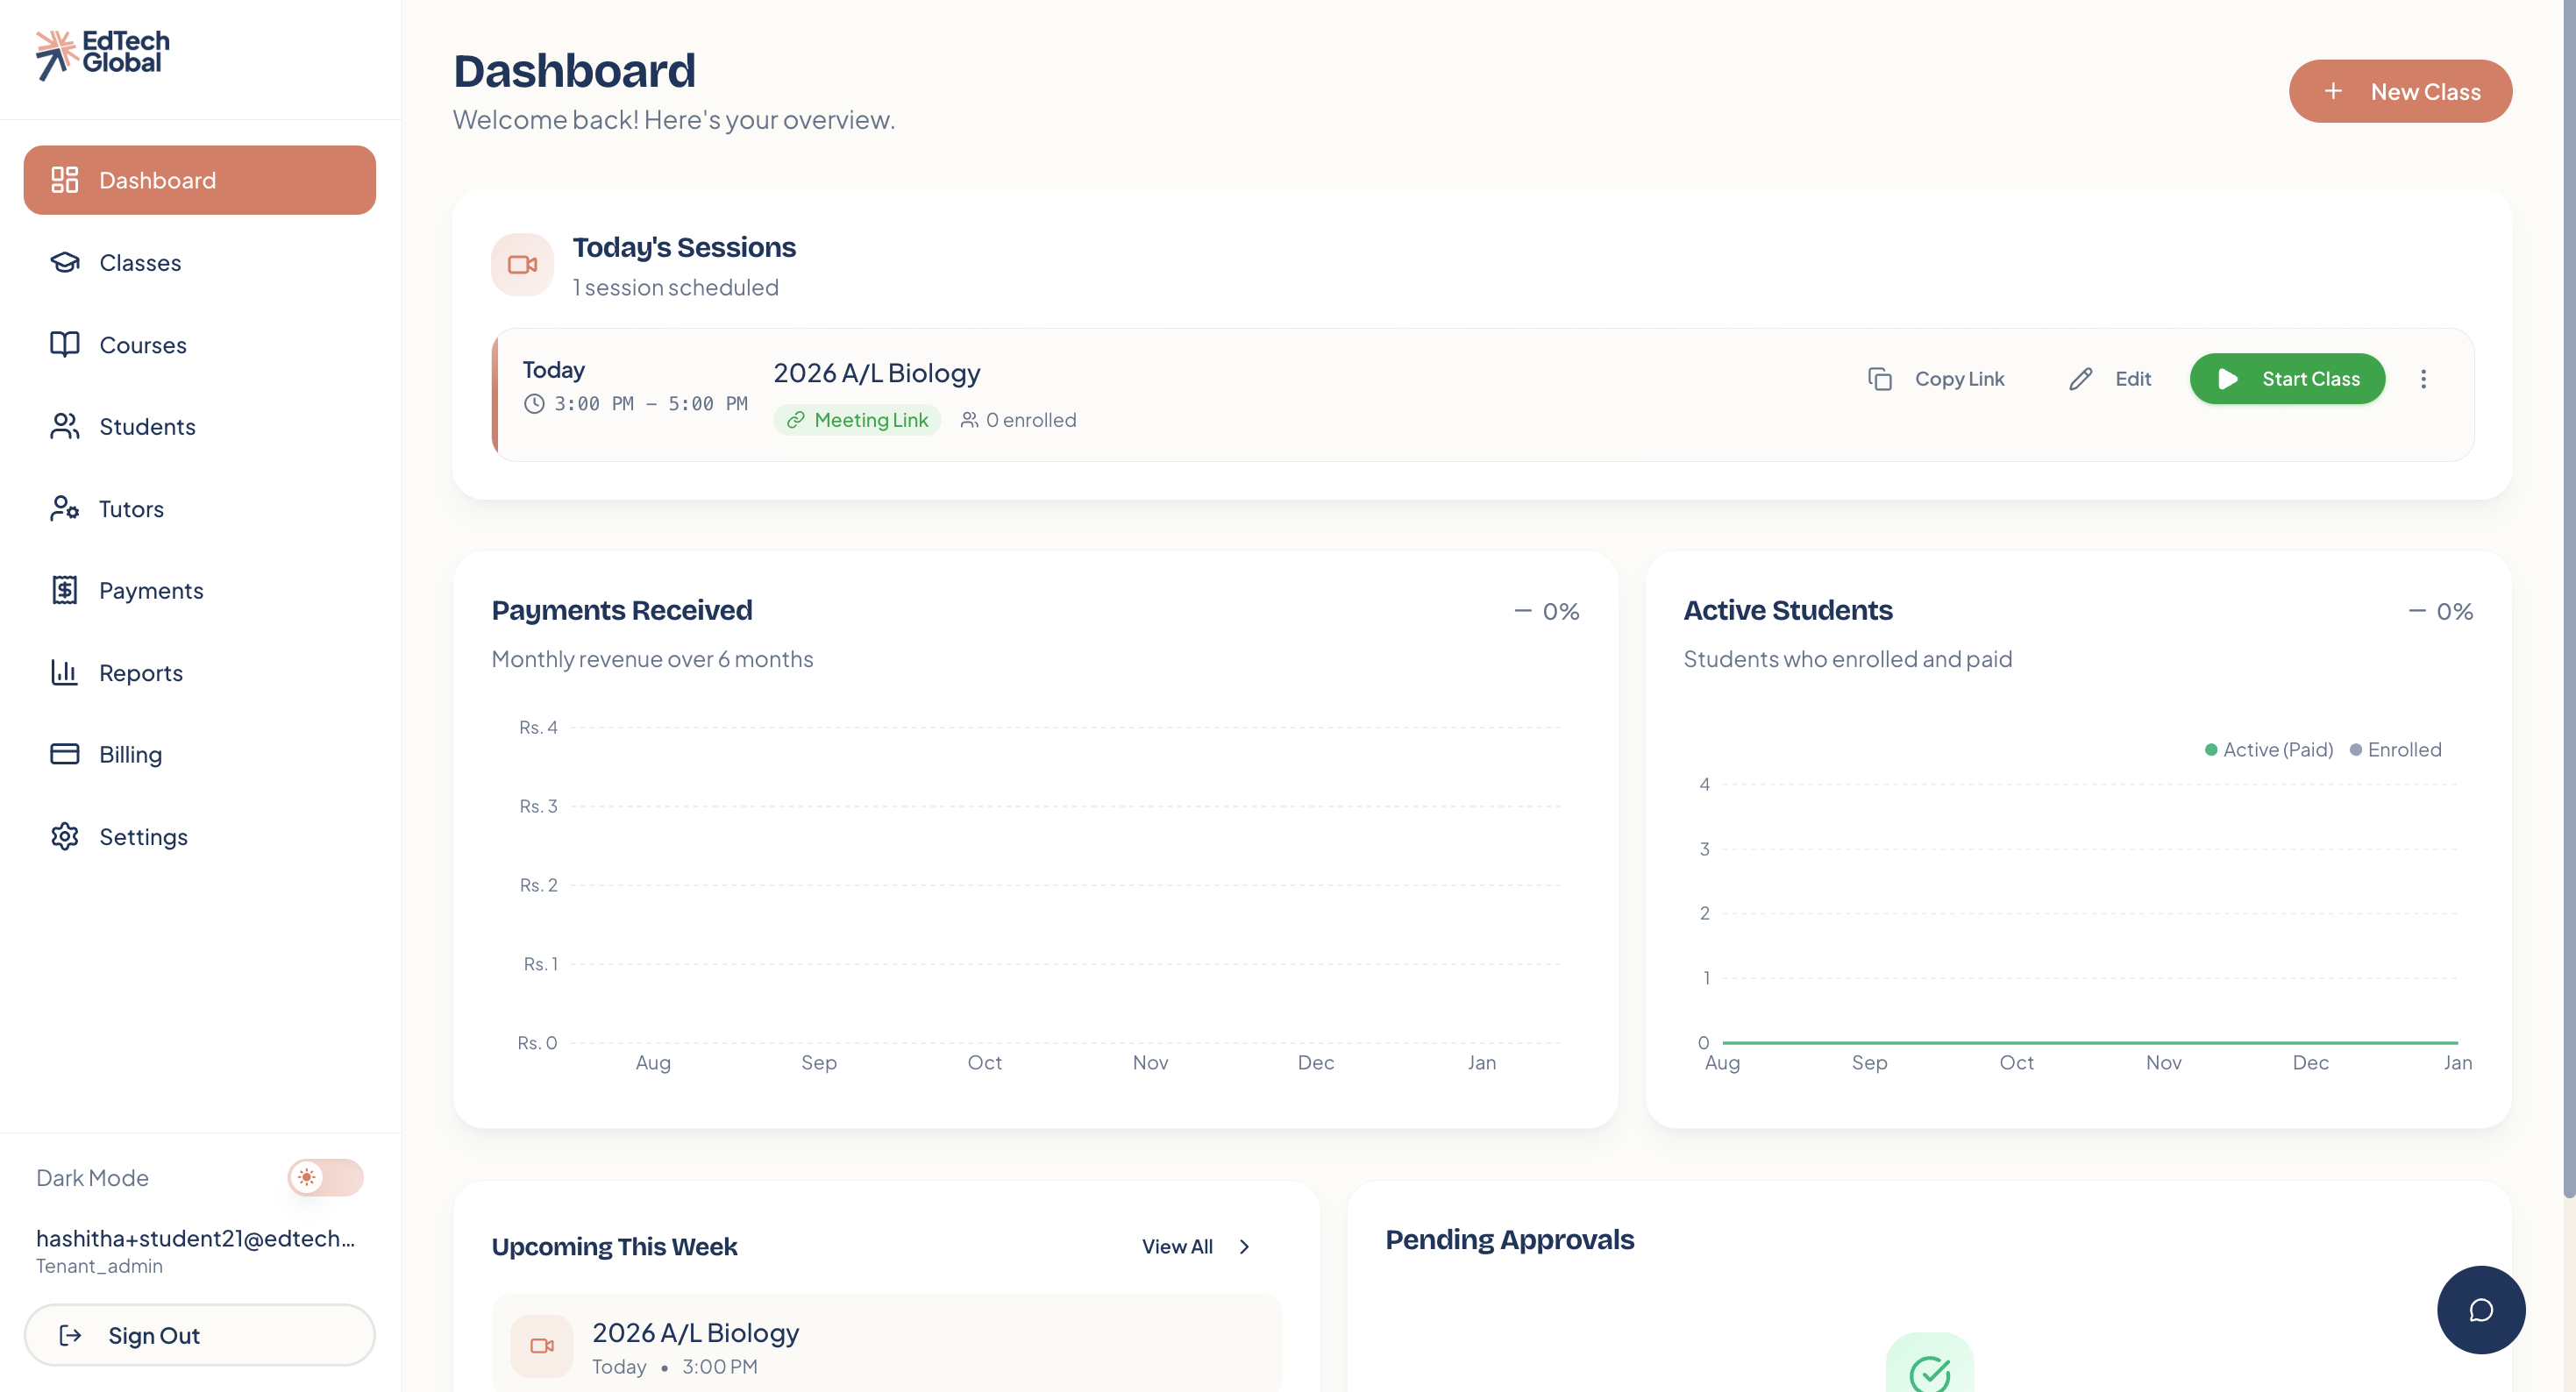
This is the fastest way to get your class running. When you log in, you will see a Today's Sessions widget at the top of your Dashboard.
1. Check your meeting link
Before you can start, ensure your video link is ready.
If you see an Add Link button, it means no video URL has been set yet. Click it to add one.
If the button says Start Class, you are good to go!
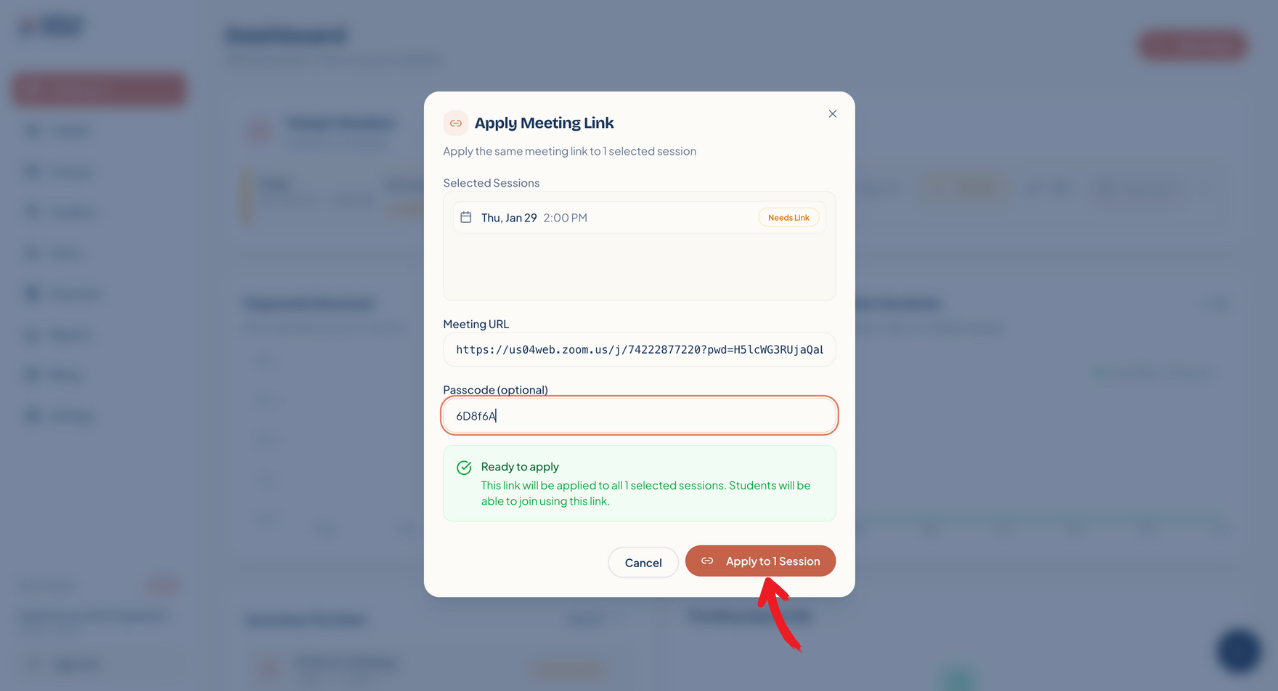
2. Add or update the link (if needed)
If you clicked Add Link, a pop-up window will appear. Paste your Zoom, Google Meet, or other video conference URL here. You can also add a passcode if required.
Click Apply to 1 Session to save it.
Method 2: Start from the Classes tab
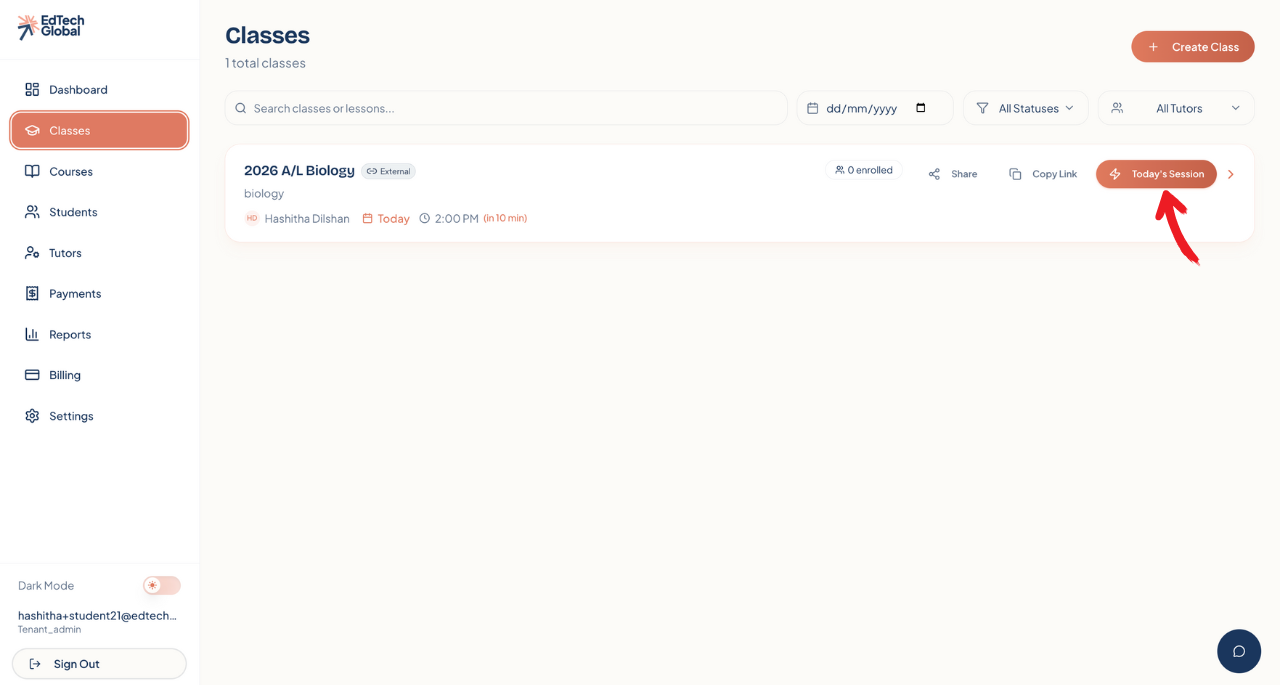
If you want to view more details before launching, you can start the session from the class list.
1. Select the class
Navigate to the Classes tab. You will see an orange Today's Session button next to any class scheduled for the current day. Click it to jump straight to that session.
2. Launch the session
You will be taken to the Sessions list for that class. Locate today's entry and click the green Start Class button.

Managing your live class
Once you click "Start," the status of the session will change to LIVE.
Join Class: Click this to open your video conferencing tool (e.g., Zoom) and begin teaching.
End Class: When the lesson is over, click this button to close the session.
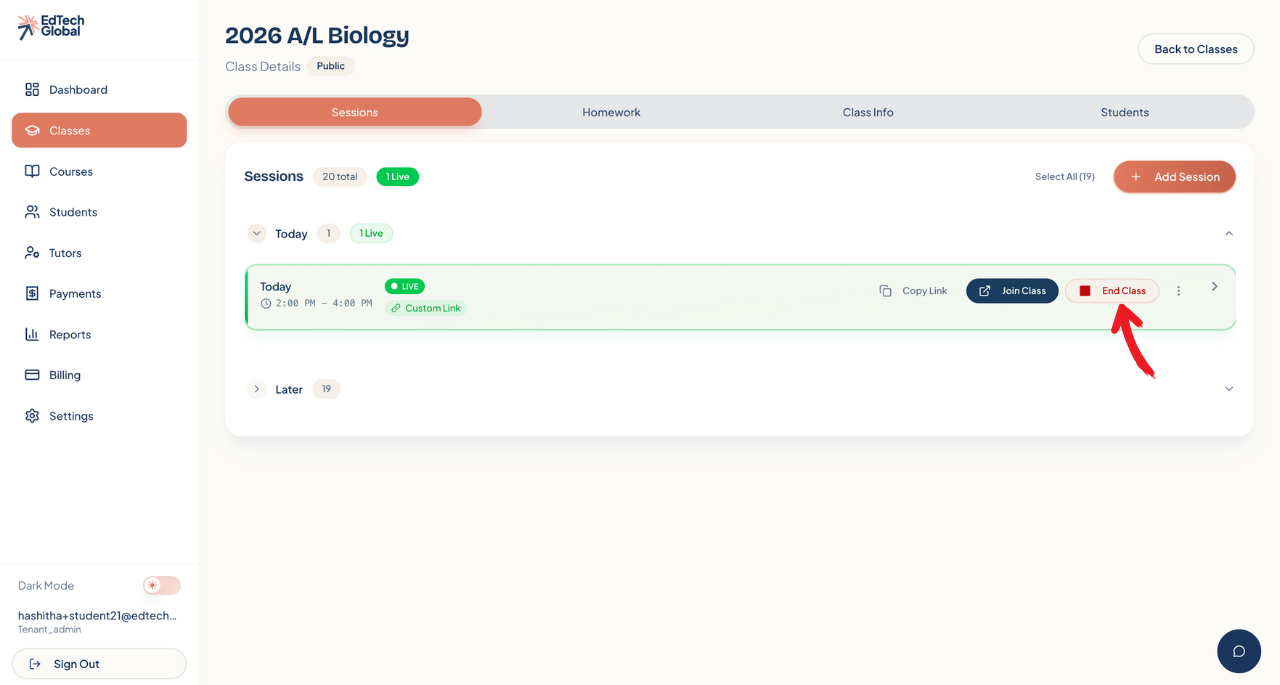
After you end the class, the session will be marked as Completed, keeping your attendance and records accurate.